By Angelique Redmond
There are a multitude of reasons to start a veggie patch, but the one that stands out for me is the idea of fresh, crunchy vegetables that you didn’t have to buy from the shop. So, not only will you save yourself some money, but it’s a great activity for the whole family to get involved in! The old adage goes, ‘You are what you eat’ so why not eat the freshest vegetables around?
Getting started
Step 1 is quite simple; plot the space you will need for your vegetable patch. Will you be growing it outside in your garden, in a window box or tub? The perfect size for a vegetable patch is roughly 4 square feet or 0.3 meters.
Step 2 is where you take a look at what type of soil you are working with. You need to know what type of soil you currently have and what the PH balance of the soil is, neutral is generally a PH of 7, but vegetables grow best in slightly acidic soil with a PH balance of 6.5. If you’re not sure, you can always pick up a soil test kit from a reputable gardening store.
If you can’t find a soil test kit here’s two quick ways to test your soil using household ingredients:
Scoop some soil into a container. Then, add a half-cup of vinegar. If the soil bubbles or fizzes, it’s alkaline.
If there’s no reaction, scoop a fresh soil sample into a second container. Add a half-cup of water and mix. Then, add a half-cup of baking soda. If the soil bubbles or fizzes the soil is highly acidic.
If your soil is too acidic you can adjust it with finely ground chalk or limestone often referred to as garden lime, which will raise the PH. Other common soil problems could be sandy soil or soil high in clay, or a patch that doesn’t drain well. To check for drainage issues, water your patch and then check it the next day, if the water is still there, the patch has poor drainage, which is not ideal for a vegetable garden. One thing you can do is add sand to the soil to improve the drainage.
What should you grow?
Step 3: Deciding what to grow can be quite the process. When I first started my vegetable patch I was quite overwhelmed with all the choices and had to be quite strict and limit myself, or I would have ended up with a vegetable back yard instead of a garden! Decide what you really like and what you will use daily or even weekly from your vegetable garden. Don’t pick anything too big or ambitious, vegetables like cabbage are space hogs and are slow to mature. Instead look for vegetables that mature quickly and that you can re-use throughout the season. Lettuce and salad leaves, tomato plants, carrots, dark red basil. You can also plant climbers such as beans and peas and make use of fences and walls to maximize your space. Now that you know what vegetable plants you want in your veggie patch it’s time to get your garden started!
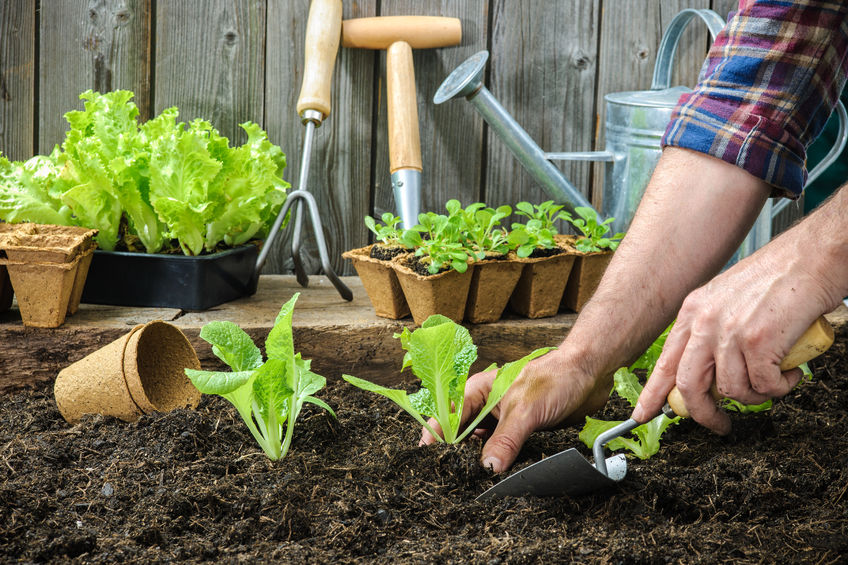
Preparing your veggie patch
Step 4: This is probably the most active part of getting your vegetable garden going! A quick tip before you start, to get the most out of your vegetable garden consider raising the beds, by placing a wooden frame around your patch and filling it with soil on top of your existing soil, it’s easier to tend and can produce better yields. Pick a spot that’s next to a sunny wall or fence and then its time to get digging! You need to make sure your plot is completely weed free before you start planting, so dig it over and pull the weeds, roots and all out. Add in some organic fertilizers and potting soil to enrich the soil and make sure it’s been well aerated before you start planting.
Now that you have your veggie patch it’s time to move on to the fun part, planting! You can choose to grow your own from seeds or buy young plants from your local nursery. Once you have your young plants it’s time to transfer then to your veg garden and in as little as several weeks you will be enjoying healthy nutritious vegetables from your own garden!